 Save
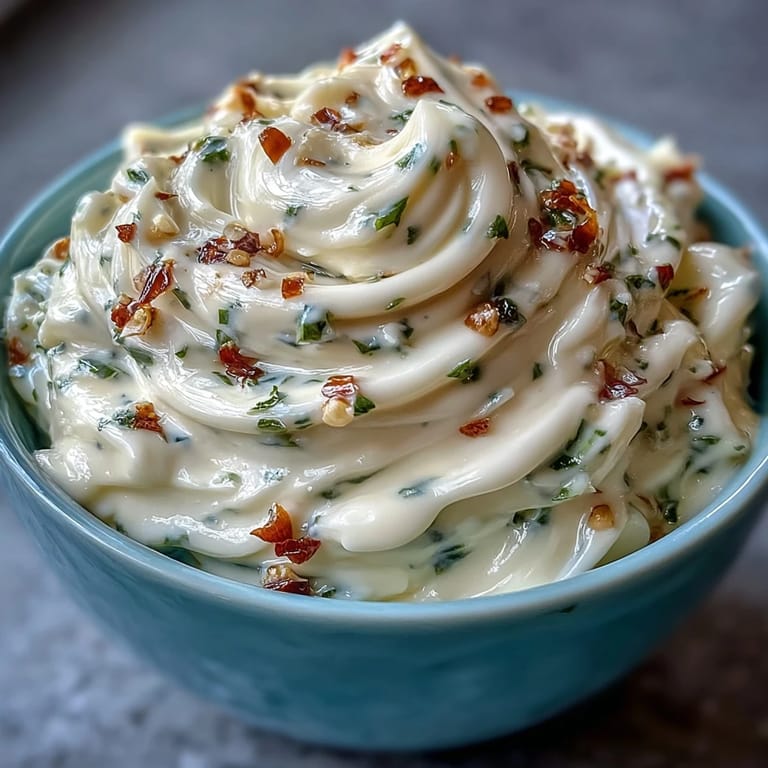
Save The first time I tackled garlic aioli from scratch, it wasn't planned—I simply ran out of store-bought mayo while prepping sliders for friends. The kitchen smelled of sharp garlic and zesty lemon, and I remember feeling both skeptical and excited as I whisked together the yolk and oil. As the mixture thickened, the rhythmic sound of my whisk hitting the bowl became oddly soothing. The result was so silky and aromatic that I couldn’t believe something so simple could taste so elevated. Now, making aioli feels like a mini magic trick whenever a meal needs that extra pop.
One night, I whipped up a batch of garlic aioli for a last-minute seafood dinner, and my brother ended up using it on everything, from asparagus to sweet potato fries. The table became a tasting station, with everyone dipping and debating whether they liked the classic or the herb-spiked version best. Seeing the jar emptied within minutes was more satisfying than any compliment. It even sparked a playful argument about whose dipping style was most efficient. I always keep a mental note: make double next time.
Ingredients
- Egg yolk: Using a yolk at room temperature helps create a stable emulsion; I always take it out a few minutes prior to avoid a broken aioli.
- Dijon mustard: Besides adding tang, mustard assists in emulsification—skip the generic, stick with a nice Dijon.
- Fresh lemon juice: The brightness balances richness, and fresh juice really makes a difference, so squeeze from a real lemon.
- Neutral oil (sunflower or canola): Oil becomes the base; make sure it’s neutral so the garlic shines without competing flavors.
- Garlic cloves: Finely minced or grated garlic delivers intensity; use fresh for punch or roast for subtlety.
- Sea salt: Salt helps round out the flavors—and don’t skimp, taste as you go.
- Black pepper: Freshly ground pepper ties everything together and adds a mild bite; adjust to suit your mood.
Tired of Takeout? 🥡
Get 10 meals you can make faster than delivery arrives. Seriously.
One email. No spam. Unsubscribe anytime.
Instructions
- Whisk the Base:
- Grab your medium mixing bowl and whisk together the egg yolk, Dijon mustard, and lemon juice until creamy and slightly thickened—it’s satisfying to see the mixture come alive.
- Add Oil Slowly:
- Drizzle in the oil a drop at a time at first, whisking constantly; as soon as it starts looking glossy, you can pour in a thin stream, watching the aioli get thick and luscious.
- Stir in Flavor:
- Add the minced garlic, sea salt, and black pepper, then stir gently—the aroma jumps instantly and you’ll notice the texture smoothing out.
- Taste and Adjust:
- Take a spoonful and decide if it needs a squeeze more lemon, extra salt, or a pinch of pepper; tweak until it feels balanced and bright.
- Store and Chill:
- Transfer the finished aioli to a jar or bowl, cover, and refrigerate—chilling will help the flavors meld beautifully.
 Save
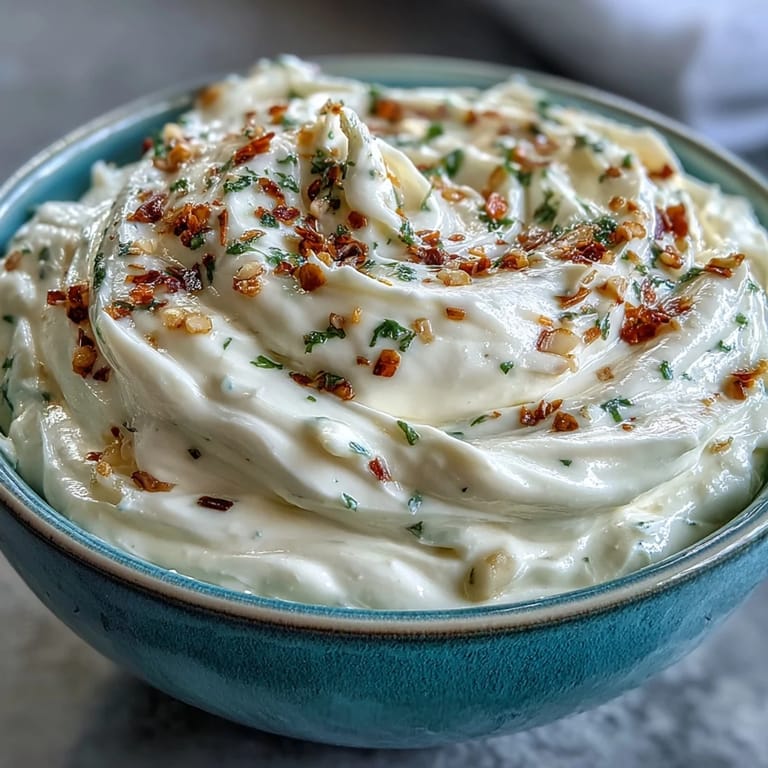
Save This aioli once took center stage at a summer picnic, where I watched friends pile it onto their grilled corn instead of butter. The laughter and squeezing of lemon over the aioli made the afternoon feel brighter. It was in that moment I realized food can spark connection just as easily as conversation. That jar disappeared before any dessert appeared. Turns out, it became the unofficial reason for a second gathering.
Making Your Aioli Truly Yours
After a few rounds of experimenting, I learned that chopped herbs like chives or tarragon can transform the flavor spectrum completely. Sometimes, a pinch of smoked paprika imparts a subtle warmth that’s perfect with roasted potatoes. Letting the aioli stand for 30 minutes before serving gives the garlic a mellow tone and amplifies the flavor. If you prefer, blend in a little extra mustard for zing. Never underestimate the upgrade from simple mayo to homemade aioli—it becomes a centerpiece.
How to Fix Aioli If It Splits
No need to panic if your aioli separates—a trick I picked up is to whisk a fresh yolk in a new bowl, then gradually add the broken mixture to rescue the texture. It works surprisingly well and prevented many moments of kitchen frustration. Using room temperature ingredients is your best insurance for success. It’s reassuring to know there’s always a workaround, even when things go sideways. Recovery builds confidence for next time.
Extra Flavor Boosts for Aioli Lovers
Add-ins like grated lemon zest, chopped dill, or a tiny spoonful of sriracha shake up the aioli’s personality. Don’t be afraid to blend in roasted garlic for a mellow sweetness. Each ingredient change tells a new story at the table.
- Always taste as you go, especially after adding strong flavors.
- Let the aioli chill at least 30 minutes before serving for best depth.
- Keep the aioli covered and refrigerated to maintain freshness.
 Save
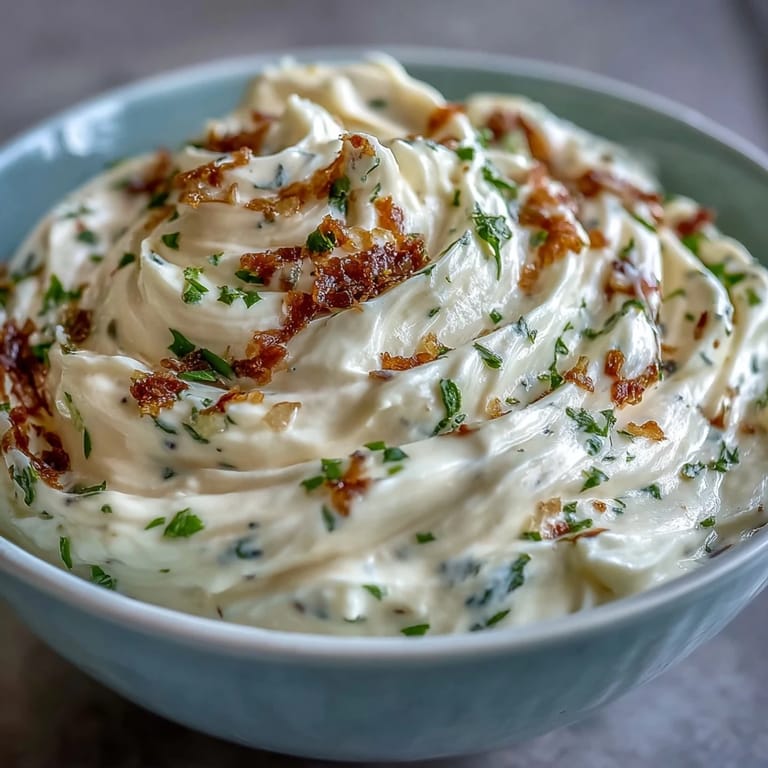
Save Whether as a dip or spread, garlic aioli brings effortless flair to everyday meals. Share it generously—you might spark unexpected moments around the table.
Recipe FAQs
- → What gives aioli its creamy texture?
The creamy texture comes from emulsifying egg yolk, mustard, and oil while whisking continuously until thick and glossy.
- → Can I use a food processor for aioli?
Yes, a food processor or blender can help emulsify ingredients faster, but hand whisking offers more control over texture.
- → How do I make aioli milder?
Roasted garlic instead of raw provides a gentler, sweeter flavor. Adjust garlic amount to taste for subtlety.
- → Is aioli gluten-free?
Aioli is naturally gluten-free when ingredients are checked. Make sure oil and mustard contain no hidden allergens.
- → How long can homemade aioli be stored?
Store in a covered jar or bowl in the refrigerator for up to 3 days. Always check freshness and aroma before serving.
- → Can I make vegan aioli?
Yes, substitute the egg yolk with aquafaba and increase mustard slightly—this preserves the creamy emulsified texture.