 Save
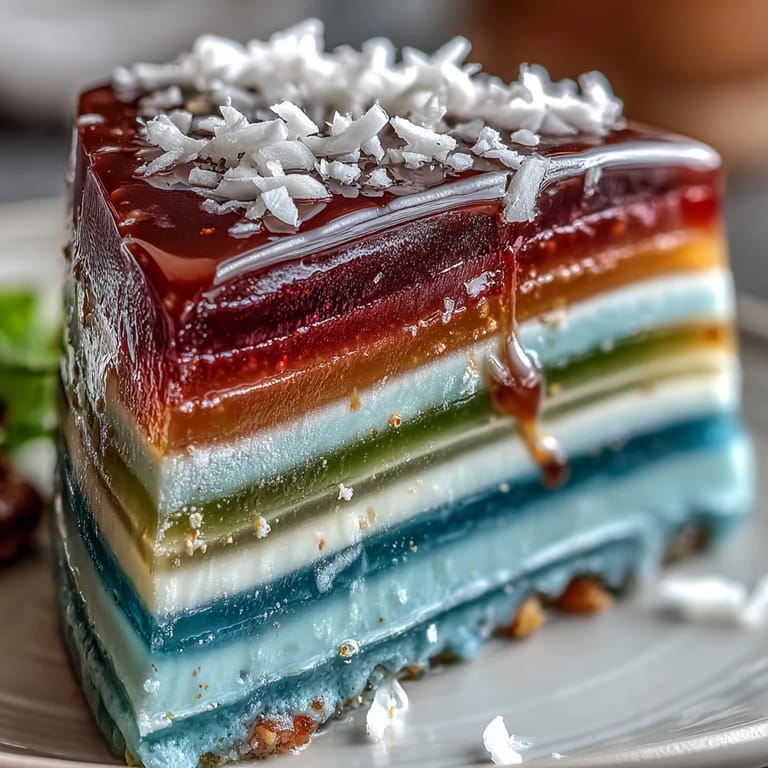
Save The first time I attempted to make a rainbow jelly cake, the kitchen was alive with an orchestra of bubbling pots and the sweet, tropical scent of coconut drifting through the air. There&aposs something oddly meditative about pouring layer after shimmering layer, watching colors bloom one by one beneath the fluorescent lights. It was the sort of afternoon where time slows, and every ripple in the jelly mirrored a little burst of anticipation. I&aposs come to associate the satisfying snap of a perfectly set jelly with laughter echoing through a sunlit kitchen, each slice promising a pop of childhood brilliance. Dessert has never felt more like an art project crossed with a party trick.
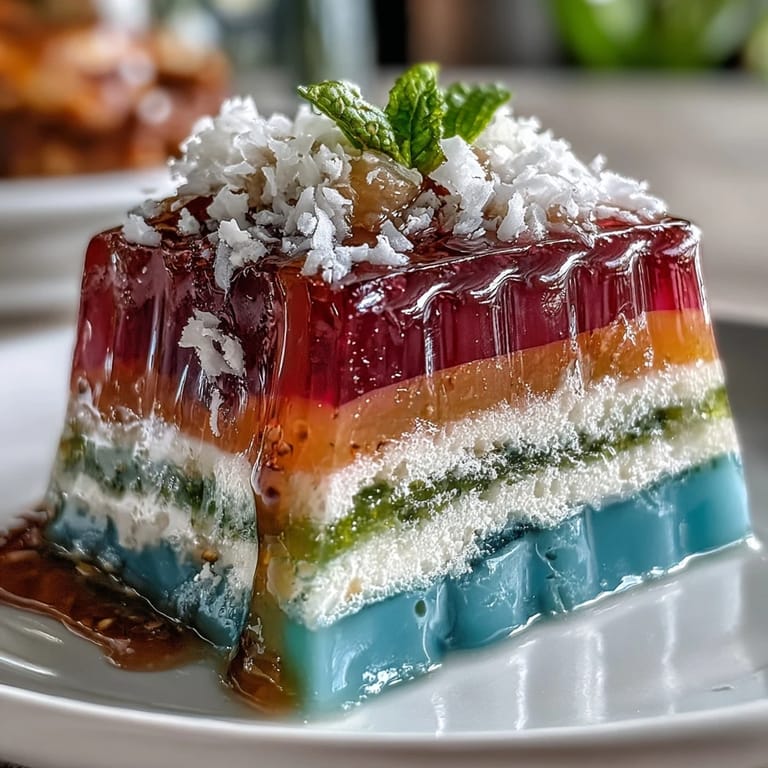
I once brought this striking jelly cake to a neighborhood barbecue—kids eyed it suspiciously at first, but the moment the first slice hit the plate, everyone clamored for a piece. Somewhere between setting layers, I accidentally mixed up the yellow and green but the mistake turned into the prettiest gradient I&apost seen yet. That afternoon, sticky fingers and neon smiles proved that fussing over perfection is overrated.
Ingredients
- Water: Acts as the base for the jelly; make sure it&aposs filtered to keep your layers clear and vibrant.
- Agar-agar powder: The plant-based secret to getting perfectly bouncy, sliceable jelly—measuring carefully is crucial so the cake isn&apost too firm or too soft.
- Granulated sugar: Sweetens both the jelly and coconut layers; adjust sugar to taste but don&apost skimp unless you prefer a subtler treat.
- Vanilla extract: Adds warmth and roundness to the flavor—try adding right off the heat so it doesn&apost disappear.
- Gel food coloring: Delivers those bold rainbow shades; I've found gel works far better than liquid for true brightness.
- Fruit juice: Choose juices like orange, pineapple, or grape to complement each color and add natural flavor complexity.
- Coconut milk (full-fat): The creamy top layer—always use full-fat for silkiness; shake the can before pouring.
- Pinch of salt: Just a pinch draws out sweetness and balances the coconut richness—it does make a difference.
Tired of Takeout? 🥡
Get 10 meals you can make faster than delivery arrives. Seriously.
One email. No spam. Unsubscribe anytime.
Instructions
- Make the jelly base:
- Combine water and agar-agar powder in a large saucepan—stir steadily as it gently reaches a simmer, letting the soft plop-plop sound tell you it&aposs dissolving well. Tip in the sugar and keep swirling until the granules vanish then take it off the heat and stir in the vanilla for a little aromatic lift.
- Divide and color:
- Quickly ladle the hot mixture into six separate bowls—a bit of steam is normal. Swirl in gel color a drop at a time (and a splash of juice, if using) until each bowl gleams with a distinct shade, keeping them warm over hot water so they don&apost set prematurely.
- Layer the rainbow:
- Pour the first color into your cake pan and pop it in the fridge; check after 10 minutes to see if it gives a light wobble but no stickiness. Repeat with each color, building your spectrum patiently and chilling between pours so the lines stay crisp—trust me, the wait is worth it.
- Make the coconut cream:
- In a clean pan, bring coconut milk, agar-agar, sugar, and salt to a gentle boil, stirring until smooth and shiny. It takes just a few minutes—don&apost wander away as it can bubble up in a flash.
- Finish with coconut cream:
- Let the coconut mix cool slightly so it won&apost melt the jelly layers, then slowly pour it over the final set jelly. Return everything to the fridge and let it chill until the cake is firm all the way through—at least two hours for those knife-sharp slices.
- Release and serve:
- Run a thin knife along the pan edges, feeling for the satisfying pop as the jelly loosens. Invert carefully onto a platter, slice into vivid squares, and serve each piece cold for best texture and visual impact.
 Save
Save There was an evening when a friend, who swore she didn&apost have a sweet tooth, reached for seconds while we debated favorite colors with jelly-stained tongues. That moment turned the cake into a centerpiece of laughter and gentle ribbing, each person picking their own &apostaste of rainbow&apos memory from the platter.
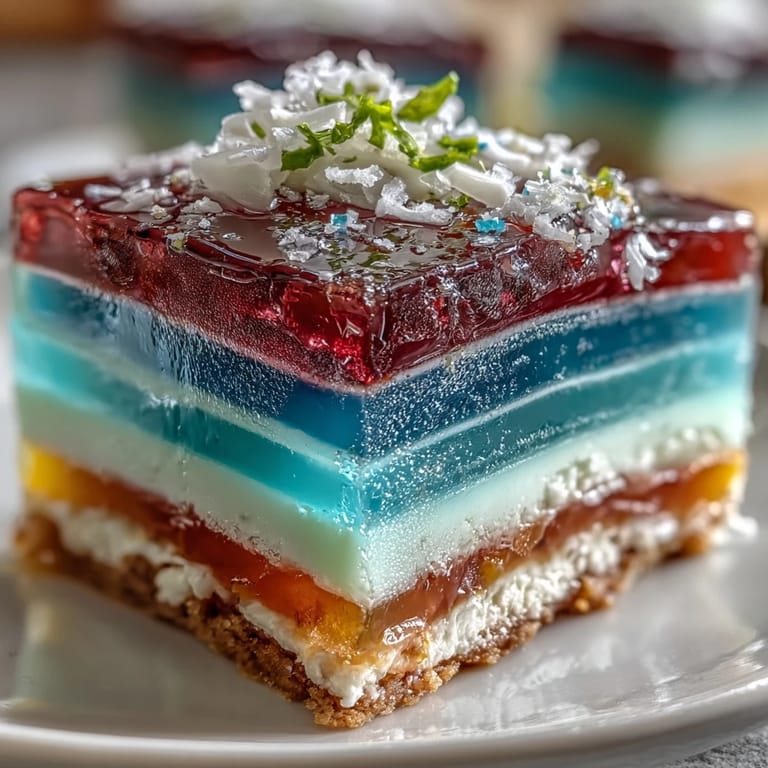
Getting Those Layers Even
My early cakes sometimes had waves between colors until I remembered to let each layer cool just long enough to firm but not chill completely. I&apost found that setting a timer for each stage keeps me from poking and fussing too early and ensures those stripes are beautifully level.
Adapting for Any Occasion
After the first classic rainbow, I began playing with softer pastel tones for spring and bold primaries for birthday parties. Swapping in different juices or even layering with diced fruit adds new textures and flavors—honestly, everyone loves the surprise inside.
What to Do With Leftovers
Cubes of leftover jelly make excellent toppers over coconut yogurt or cut up in fruit salad for lunch the next day. If you&aposre feeling playful, layer bits in parfait glasses for an almost stained-glass effect.
- If using silicone molds, unmold when fully chilled for sharp edges.
- Store leftovers covered in the fridge to avoid absorbing fridge smells.
- Slice with a warm knife for clean edges every time.
 Save
Save Whether you&aposre chasing a burst of color for a birthday or just craving a cool, cheerful dessert on a warm day, this jelly cake promises a little slice of joy each time. Here&aposs to kitchen messes, wonky rainbows, and the simple pleasure of a dessert that dazzles.
Recipe FAQs
- → How do I get sharp, even layers?
Chill each colored batch until it is just set—surface shouldn't feel sticky. Pour slowly and evenly from a low height, and allow 10–15 minutes between pours so layers adhere without bleeding.
- → Can I use fruit juice for flavor in the layers?
Yes. Replace up to 1/2 cup of water per color with juice (orange, pineapple, grape) for extra flavor. Keep total liquid ratios similar so the agar-agar sets reliably.
- → What agar-agar amounts produce firm versus soft jelly?
For firm, sliceable jelly use about 16 g agar-agar per 2 liters water (as in the layers). For cream layers, 4 g agar per 400 ml coconut milk gives a soft but stable set. Adjust slightly for desired texture.
- → How can I avoid bubbles and uneven surfaces?
Stir gently while dissolving agar-agar to minimize foam. Let mixtures sit briefly to release bubbles before coloring, and pour against the side of the pan or over a spoon to reduce splashes.
- → Is it practical to make individual portions?
Yes. Use silicone molds or small cups and pour fewer colors per portion. Setting times are shorter for small molds and they’re easier to unmold cleanly.
- → How should leftovers be stored and how long do they keep?
Cover and refrigerate for up to 4–5 days. Keep away from strong odors and avoid freezing, as texture can change. Bring chilled slices to serving temperature straight from the fridge.