 Save
Save The first time I made chicken sushi bake, I was standing in my kitchen on a lazy Sunday afternoon, craving sushi but too tired to roll anything by hand. Instead of scrolling through takeout menus, I thought, why not just bake all those flavors together? What started as a shortcut turned into something I actually make more often than traditional sushi now. It's the kind of dish that feels both comforting and exciting, like you're eating something special without the fuss.
I served this to my sister when she came home from a tough week at work, and watching her take that first bite—the way her face lit up—made me realize this dish had become more than just fusion food. It was comfort wrapped in the flavors of something elegant, and she's been asking me to make it ever since.
Ingredients
- Sushi rice: The foundation of everything—rinse it well to remove excess starch, which is what gives you that perfect tender texture rather than a gluey mess.
- Rice vinegar, sugar, and salt: These three together are what actually make the rice taste like sushi rice, so don't skip seasoning it properly even though it seems simple.
- Cooked chicken breast: Use rotisserie chicken if you can—it has more flavor and saves you an entire step, and honestly, no one will know the difference.
- Kewpie mayonnaise: If you can find it, use it instead of regular mayo; it's creamier and has a subtle sweetness that makes a real difference in the chicken mixture.
- Cream cheese: This adds richness and helps bind everything together, keeping the chicken layer cohesive when you scoop.
- Sriracha and soy sauce: These bring heat and umami depth—start with less sriracha than you think and taste as you go, because some bottles are much spicier than others.
- Green onions: Slice them thin so they distribute evenly and add fresh sharpness to the creamy chicken.
- Mozzarella cheese: It melts beautifully and creates that golden, slightly bubbly top that makes it look restaurant-quality.
- Furikake seasoning: This Japanese seasoning blend with sesame, seaweed, and fish flakes is the secret flavor booster—sprinkle it both before and after the chicken layer for extra umami.
- Avocado: Add this only after baking so it stays fresh and creamy; warm avocado loses something magical.
- Nori sheets: Use these as edible vessels for scooping, turning each bite into a little hand-held experience.
- Toasted sesame seeds: Toast them yourself if you have time—they taste infinitely better than pre-toasted versions.
Tired of Takeout? 🥡
Get 10 meals you can make faster than delivery arrives. Seriously.
One email. No spam. Unsubscribe anytime.
Instructions
- Get your oven ready and prep the dish:
- Preheat your oven to 400°F and grease that 9x9-inch baking dish lightly so the rice doesn't stick to the edges and burn. A light hand here prevents frustration later.
- Cook the rice the right way:
- Rinse the sushi rice under cold running water, stirring gently with your fingers until the water turns almost clear—this removes the starch that would otherwise make it pasty. Combine with 2 1/2 cups water in a pot, bring to a boil, then drop the heat to low, cover, and let it simmer for exactly 15 minutes without peeking. Remove from heat and let it rest, still covered, for 10 more minutes—this rest period is when the rice finishes cooking itself and becomes fluffy.
- Season the rice with the vinegar mixture:
- In a small bowl, stir together rice vinegar, sugar, and salt until the sugar and salt dissolve completely. Gently fold this into the warm rice using a wooden spoon or rice paddle, being careful not to mash the grains—you want each grain separate and glistening.
- Build the creamy chicken layer:
- Mix your cooked chicken with Kewpie mayo, softened cream cheese, sriracha, soy sauce, and sliced green onions in a medium bowl until everything is evenly combined and creamy. Taste it and adjust the sriracha if you want more heat.
- Layer the foundation:
- Spread the seasoned rice evenly across the bottom of your prepared baking dish, then sprinkle 1 tablespoon of furikake directly over it. This first layer of furikake seasons the rice from the inside out.
- Add the chicken and cheese:
- Spread the chicken mixture evenly over the rice layer, then top with shredded mozzarella and the remaining furikake. The cheese creates a barrier that keeps everything moist while baking.
- Bake until golden:
- Slide the dish into your preheated oven and bake for 20 to 25 minutes, until the cheese is melted and showing golden-brown spots. You'll know it's done when the edges bubble slightly and the top turns a light golden color.
- Cool, finish, and serve:
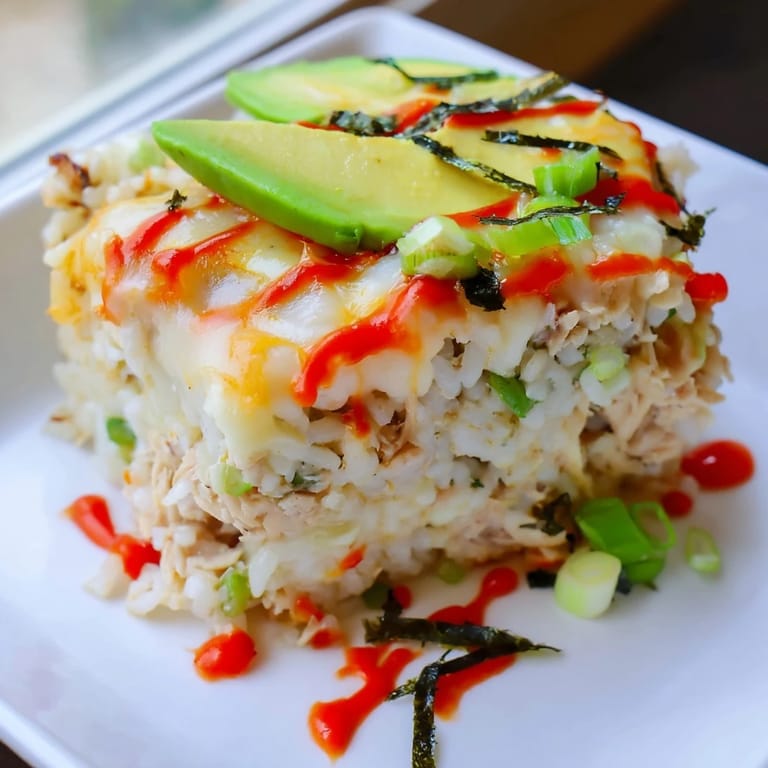
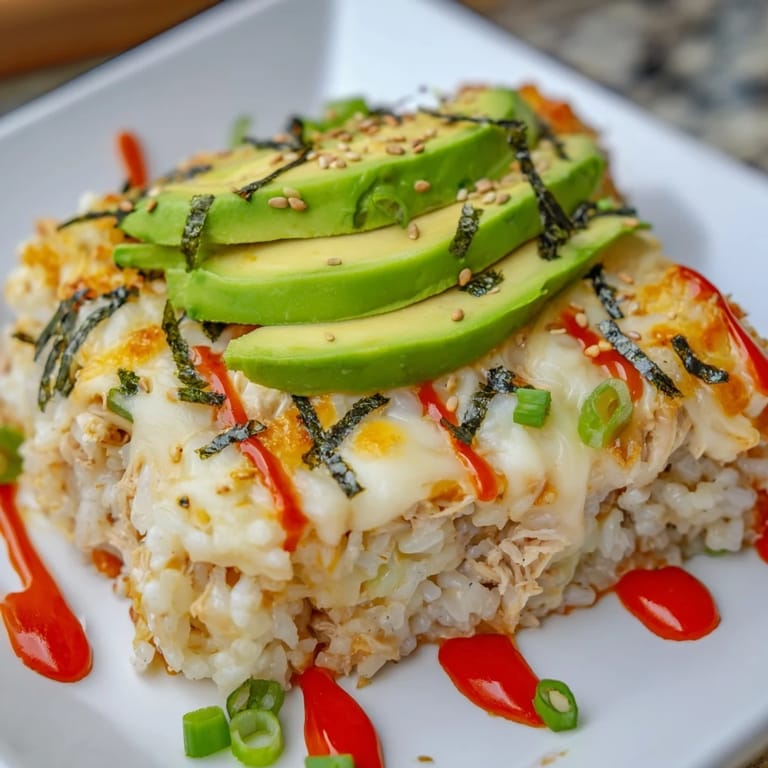
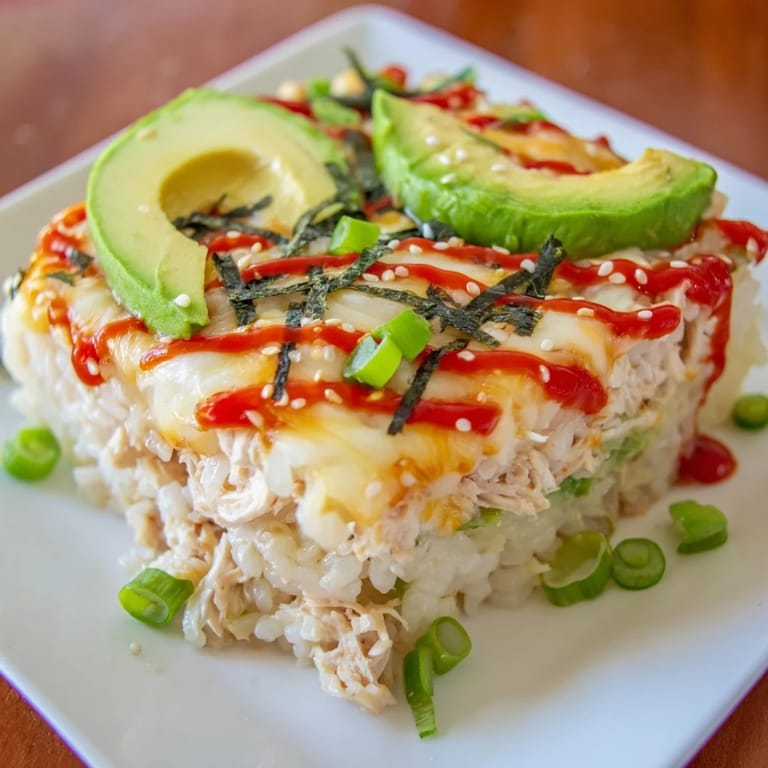
- Let it rest for 5 minutes out of the oven so it sets slightly and becomes easier to scoop. Top with fresh avocado slices, nori strips, toasted sesame seeds, and drizzles of extra sriracha and mayo. Serve warm by scooping portions directly onto small plates or onto individual nori sheets for eating with your hands.
 Save
Save There's something about this dish that turns a regular Tuesday dinner into an event. My kids started asking for it by name instead of just 'that baked thing,' and suddenly it became the meal everyone requested for their birthday dinner.
Why This Fusion Actually Works
Sushi bake sits in this perfect middle ground between two food cultures, taking what we love about sushi—the fresh, umami-rich flavors and the careful layering—and making it accessible without technical skill. The magic happens when you realize that sushi was never really about the rolling; it was about the combination of cool rice, creamy proteins, fresh vegetables, and aromatic toppings. Baking it in a dish doesn't lose any of that; it just reshapes it into something you can serve family-style without worrying about falling apart.
The Art of Seasoning Right
The chicken mixture is where most people skimp, thinking mayo and sriracha are enough. But that cream cheese softens everything into a cohesive layer, the soy sauce adds depth, and the green onions keep it from feeling one-dimensional and heavy. I've made this with people who use different mayo brands, and I swear I can taste the difference—that's how much this layer matters. Building it with layers of flavor rather than just mixing things together is what separates a good sushi bake from one that tastes like you just threw ingredients at rice.
Serving and Storage Wisdom
This dish is best eaten fresh from the oven while the cheese is still slightly melted and warm against the cool avocado on top. It does keep in the refrigerator for up to three days, though the cheese loses some of its appeal when reheated. If you're meal-prepping, consider baking it without the avocado and nori, then adding those fresh toppings right before serving each portion.
- Cut into clean squares by dipping your knife in water between cuts so the layers don't drag and smear.
- If you're not serving it immediately, cover it loosely with foil after it cools to keep it from drying out while you finish other parts of the meal.
- Leftover rice without the chicken layer actually makes an excellent base for rice bowls the next day if you store them separately.
 Save
Save This is the kind of dish that reminds you why cooking matters—it brings people together, it tastes impressive without requiring hours of fussy technique, and it fills your kitchen with the kind of smell that makes everyone ask what's for dinner. Make it once and you'll understand why it's become a permanent rotation in my house.
Recipe FAQs
- → What type of rice is best for this dish?
Sushi rice works best due to its sticky texture, helping the dish hold together while absorbing flavors well.
- → Can I use leftover cooked chicken?
Yes, shredded or diced cooked chicken, such as rotisserie, adds convenience and enhances flavor.
- → How spicy is the dish?
The level of heat depends on sriracha amount; adjust according to your taste for mild to medium spice.
- → What are good toppings to add before baking?
Shredded mozzarella cheese and furikake seasoning add creaminess and umami; avocado and nori strips provide freshness after baking.
- → Can I prepare this ahead of time?
Yes, assemble and refrigerate the casserole before baking; bake when ready to enjoy warm and fresh flavors.