 Save
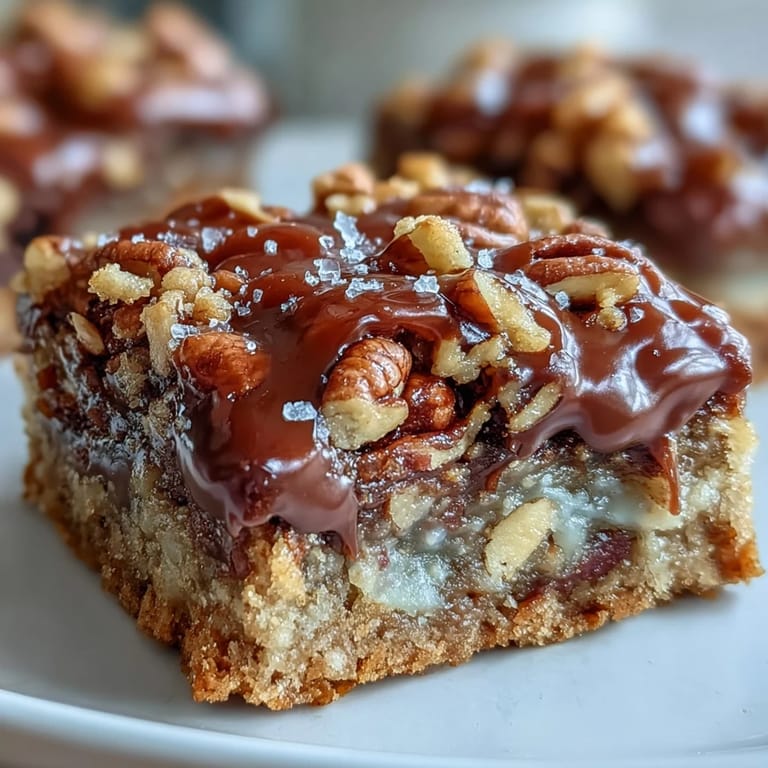
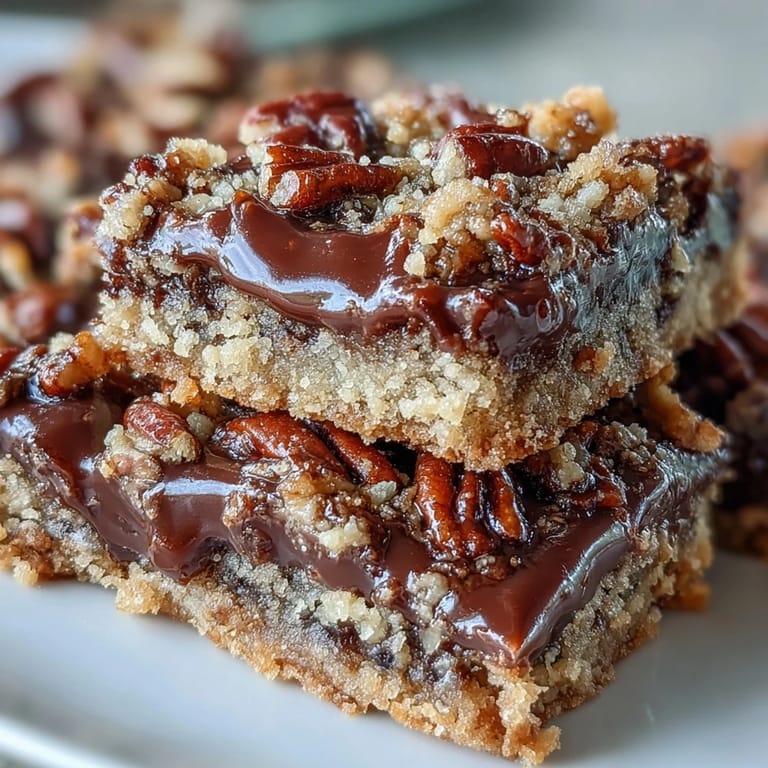
Save My sister showed up at my door one Saturday holding a baking pan wrapped in foil, announcing she'd made "something dangerous." She peeled back the corner to reveal layers of caramel, chocolate, and crumbled oats pressed into gooey squares. I ate two before she even sat down. By Monday, I'd recreated them in my own kitchen, tweaking the crumb ratio until I got that perfect balance of chew and crunch.
I brought a batch to a potluck once, set them on the dessert table, and watched them vanish in under ten minutes. A neighbor cornered me by the drinks asking if I'd share the recipe, insisting her book club needed these immediately. I scribbled it on a napkin while she promised to name her next cat after me. That's when I knew these bars had serious power.
Ingredients
- All-purpose flour: Forms the sturdy base that holds up under all that caramel weight without turning soggy.
- Rolled oats: Old-fashioned oats work best here, they toast beautifully and add a chewy bite that instant oats can't match.
- Brown sugar: Packed tight, it lends molasses notes that deepen the caramel flavor instead of competing with it.
- Granulated sugar: Balances the brown sugar's moisture and helps the crumb topping crisp up in the oven.
- Unsalted butter, melted: Melted butter blends into the oat mixture faster and creates a crumblier texture than cold cubes ever could.
- Salt: Just a quarter teaspoon cuts through the sweetness and makes every other flavor pop.
- Baking soda: A small amount keeps the crust tender and prevents it from baking into a hockey puck.
- Semi-sweet chocolate chips: They melt into puddles when the crust comes out hot, creating pockets of fudge throughout.
- Chopped pecans: Toasted pecans bring a buttery crunch, but walnuts or almonds work if that's what you have on hand.
- Caramel sauce: Store-bought saves time, homemade tastes richer, either way it needs to be pourable and warm.
- Heavy cream: Thins the caramel just enough to spread evenly without losing that luscious thickness.
Tired of Takeout? 🥡
Get 10 meals you can make faster than delivery arrives. Seriously.
One email. No spam. Unsubscribe anytime.
Instructions
- Preheat and Prep:
- Set your oven to 350°F and grease a 9x9-inch pan with butter, or line it with parchment so the bars lift out clean. I learned the parchment trick after prying out too many stuck corners with a butter knife.
- Mix the Crumb Base:
- Stir together flour, oats, both sugars, melted butter, salt, and baking soda until the mixture looks like wet sand. Scoop out one cup and set it aside for the topping, then press the rest firmly into the pan to form an even crust.
- Bake the Crust:
- Slide the pan into the oven for 10 minutes, just until the edges start to turn golden. This partial bake keeps the crust from getting soggy once you pile on the caramel.
- Warm the Caramel:
- While the crust bakes, combine caramel sauce and heavy cream in a small saucepan over medium-low heat, stirring constantly until smooth. Pull it off the heat as soon as it's blended so it doesn't scorch.
- Layer the Fillings:
- Pull the hot crust from the oven and immediately scatter chocolate chips over the surface, then sprinkle chopped pecans on top. The residual heat will start melting the chocolate right away.
- Pour the Caramel:
- Drizzle the warm caramel evenly over the chocolate and pecans, letting it seep into every gap. Work quickly so the caramel stays fluid enough to spread.
- Add the Crumb Topping:
- Sprinkle the reserved crumb mixture over the caramel layer, pressing gently so it sticks but still looks rustic. Don't flatten it completely or you'll lose that craggy texture.
- Finish Baking:
- Return the pan to the oven and bake for 15 to 20 minutes, until the topping turns a deep golden brown. The caramel will bubble up around the edges, which is exactly what you want.
- Cool and Slice:
- Let the bars cool completely in the pan on a wire rack, this takes at least 30 minutes but patience pays off in clean cuts. Use a sharp knife and wipe it between slices for neat squares.
 Save
Save One evening, my nephew asked if he could help, so I handed him the bowl of crumb mixture and let him press it into the pan. He packed it down with his fists like he was building a sandcastle, then watched through the oven door as the chocolate melted and the caramel bubbled. When we cut the first square, he announced it was "better than the candy store," and I had to agree.
Storing and Serving
These bars keep beautifully in an airtight container at room temperature for up to a week, though they rarely last that long. If you want to stretch them further, freeze individual squares between sheets of parchment and thaw one whenever a craving strikes. Serve them straight from the fridge for a firmer bite, or let them sit at room temperature for that perfect chewy texture. A drizzle of melted chocolate over the top turns them into a gift-worthy treat that looks like you spent hours on presentation.
Flavor Variations
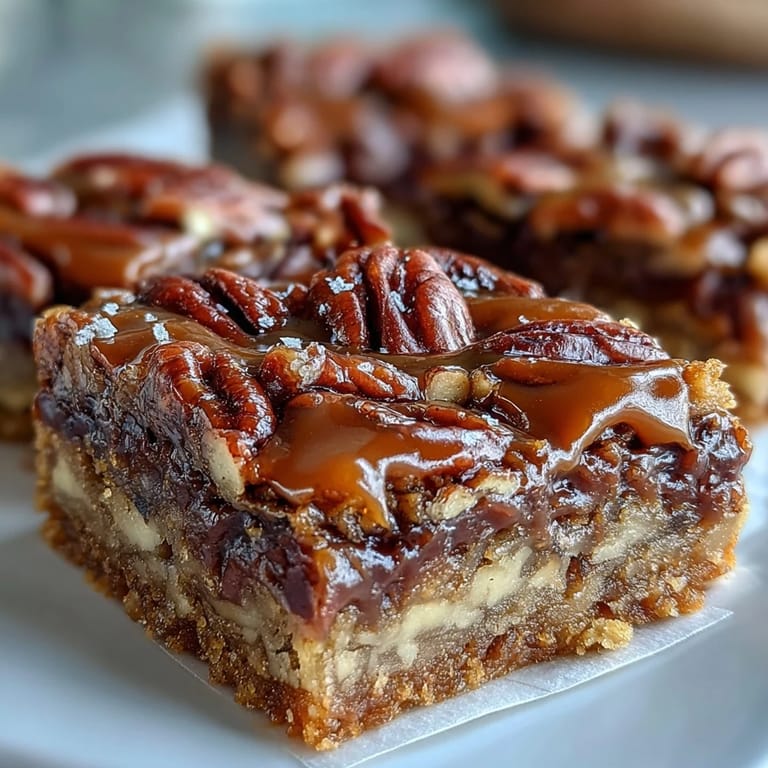
Swap the pecans for walnuts or slivered almonds if you prefer a different crunch, or go wild and mix in a handful of toffee bits with the chocolate chips. For a salted caramel version, sprinkle flaky sea salt over the caramel layer before adding the crumb topping. I once stirred a teaspoon of espresso powder into the crumb mixture and the coffee notes made the chocolate taste even richer. You can also use dark chocolate chips instead of semi-sweet if you like a less sugary finish.
What to Watch For
The caramel layer is the trickiest part because it can seize if the heat is too high or separate if you don't stir constantly. Keep the flame low and your spoon moving, and you'll be fine. The crumb topping should look golden and smell toasty when it's done, if it's still pale after 20 minutes, give it another few minutes but keep an eye on it so it doesn't burn. If you see the caramel bubbling aggressively around the edges, that's normal, just let it cool and it will set into those signature gooey pockets.
- Use a light hand when sprinkling the final crumb layer so it stays loose and crunchy.
- Check the caramel sauce label if you're using store-bought, some brands are too thin and won't hold up under the topping.
- Always cool the bars in the pan, moving them too soon will cause them to fall apart.
 Save
Save These bars have become my go-to whenever I need to impress without stress, they look fancy but come together in barely over an hour. Keep the recipe close, you'll make them more often than you expect.
Recipe FAQs
- → Can I make these bars ahead of time?
Yes, these bars actually improve with time. Make them up to 2 days in advance and store in an airtight container at room temperature. The flavors meld together beautifully, making them even more delicious.
- → How do I know when the bars are done baking?
The topping should be golden brown and the caramel layer should be bubbly around the edges. The bars will set further as they cool, so don't worry if they seem slightly jiggly when you remove them from the oven.
- → Can I freeze turtle bars?
Absolutely. Wrap the uncut bars tightly in plastic wrap and foil, then freeze for up to 3 months. Thaw overnight in the refrigerator before bringing to room temperature and cutting.
- → What's the best way to cut clean squares?
Let the bars cool completely, at least 2 hours. For cleanest cuts, chill in the refrigerator for 30 minutes before slicing. Use a sharp knife wiped clean between cuts, and make slow, decisive strokes.
- → Can I use homemade caramel instead of store-bought?
Homemade caramel works beautifully and adds an extra depth of flavor. Just ensure it's pourable but not too thin. If your homemade caramel is very thick, warm it gently with the cream until it reaches a drizzling consistency.
- → Why do I need to reserve part of the crumb mixture?
Reserving 1 cup of the oat crumb mixture for the topping creates that signature streusel-like texture. Without it, you'd miss the crispy, golden contrast on top that makes these bars so irresistible.