 Save
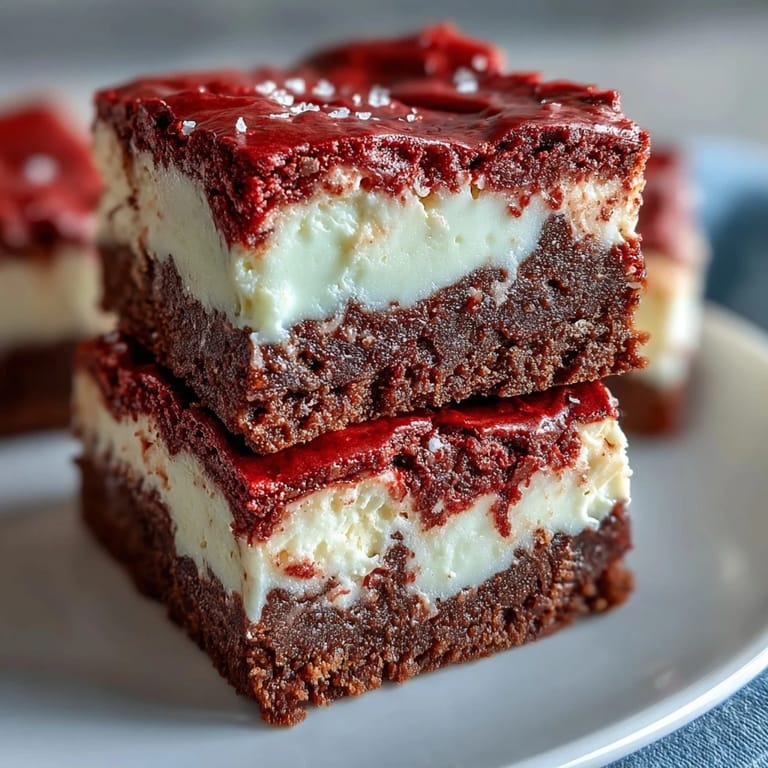
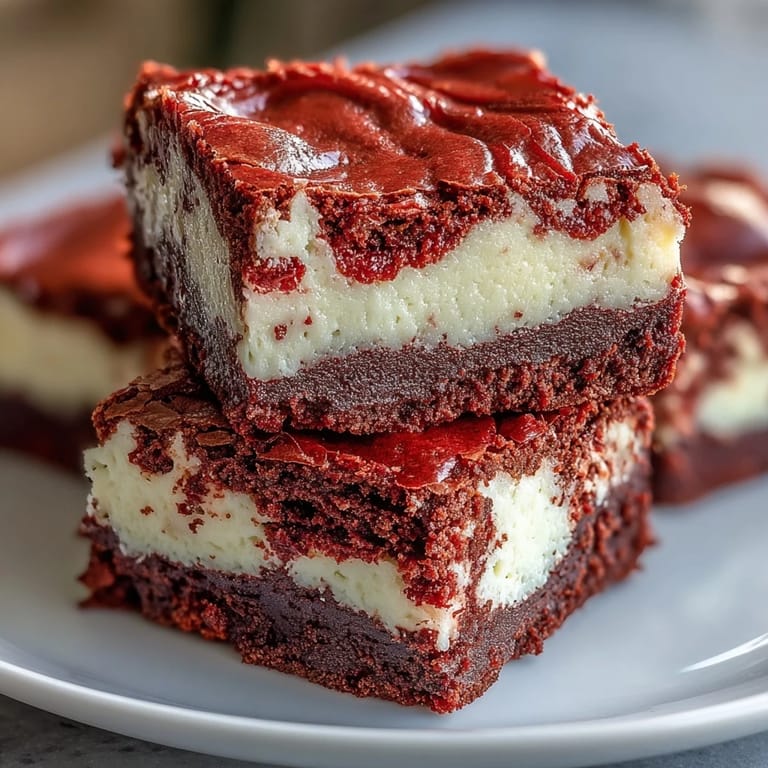
Save My sister showed up with a tray of these brownies at a potluck last spring, and I watched them disappear before the main course even hit the table. The contrast between the deep red swirls and creamy white cheesecake caught everyone's eye, but it was that first bite—fudgy brownie giving way to tangy cream cheese—that had people coming back. She admitted she'd been nervous about the swirling technique, but the imperfect marbling actually made them look more tempting. I asked for the recipe that night, and it's been my go-to showstopper ever since. There's something about cutting into that first square and seeing the layers that feels like unwrapping a gift.
I made these for a friend's birthday dinner once, and her six year old kept calling them "fancy brownies" all night. Halfway through dessert, he asked if he could have the corner piece because it had the most swirls. Watching him carefully choose his slice reminded me that sometimes the simplest compliment is someone paying close attention to what you've made. My friend later told me he asked for "the red and white brownies" for his own birthday three months later. That's when I knew this recipe had earned its place in my regular rotation.
Ingredients
- Unsalted butter: Melted butter gives these brownies their dense, fudgy texture and carries the cocoa flavor beautifully throughout.
- Granulated sugar: Divided between layers, it sweetens the brownie base and balances the tanginess of the cream cheese without making things cloying.
- Eggs: Room temperature eggs blend more smoothly into both batters and help create that perfect chewy crumb in the brownie layer.
- Vanilla extract: A little in each layer deepens the overall flavor and makes the cream cheese taste richer than it actually is.
- Red food coloring: Gel works better than liquid for vibrant color without thinning the batter, and a tablespoon gives you that classic red velvet hue.
- All purpose flour: Just enough to give structure without making the brownies cakey, and it needs a light hand when folding to keep things tender.
- Unsweetened cocoa powder: This is what makes red velvet more than just a colored brownie, adding subtle chocolate depth without overpowering the tangy notes.
- Cream cheese: Softened to room temperature, it whips into a smooth cheesecake layer that stays creamy even after baking and chilling.
Tired of Takeout? 🥡
Get 10 meals you can make faster than delivery arrives. Seriously.
One email. No spam. Unsubscribe anytime.
Instructions
- Prep Your Pan:
- Line your baking pan with parchment paper and let it hang over the sides like little handles. This makes lifting out the whole brownie slab so much easier later, and you'll thank yourself when it's time to cut clean squares.
- Mix the Brownie Base:
- Whisk melted butter and sugar until they look glossy and smooth, then beat in the eggs, vanilla, and food coloring until the whole mixture turns that gorgeous crimson shade. Sift in your dry ingredients and fold just until no white streaks remain, because overmixing will make these tough instead of fudgy.
- Reserve Some Batter:
- Scoop out about a quarter cup of that red velvet batter into a small bowl before spreading the rest into your pan. You'll use this later for the marbling, and having it set aside means you won't accidentally scrape the bottom trying to gather enough.
- Whip the Cheesecake:
- Beat your softened cream cheese until it's completely smooth with no lumps, then add the sugar, egg, and vanilla. Mix until it looks like thick, pourable cream, silky and ready to spread over the brownie layer without tearing it.
- Layer and Swirl:
- Pour the cheesecake mixture over the brownie base and spread it gently to the edges, then drop spoonfuls of that reserved red batter on top. Drag a knife or skewer through both layers in looping motions, and don't overthink it—messy swirls look more artisan anyway.
- Bake Until Just Set:
- Slide the pan into your preheated oven and bake for about 35 minutes, checking when the center barely jiggles and a toothpick comes out with a few moist crumbs. Overbaking will dry out the brownies, so pull them when they still look slightly underdone in the very middle.
- Cool and Chill:
- Let the pan cool completely on a wire rack, then cover and refrigerate for at least two hours before slicing. Cold brownies cut cleaner, and the cheesecake layer firms up into that perfect creamy texture that holds its shape on a plate.
 Save
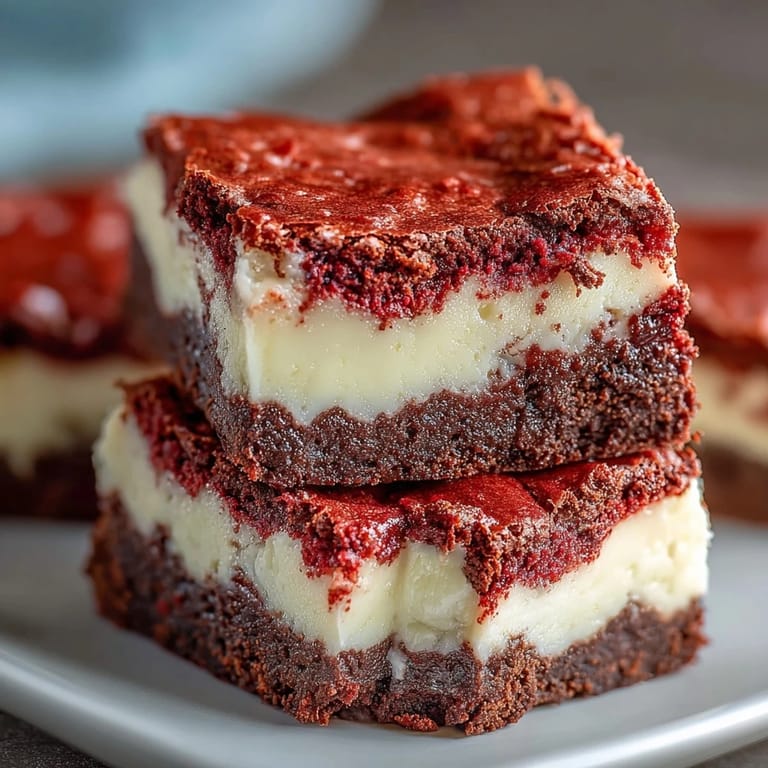
Save The first time I brought these to a holiday party, someone asked if I'd ordered them from a bakery. I laughed and said no, they just look fancy because of the swirls, and she seemed almost disappointed that they weren't more complicated. Later that night, three different people asked for the recipe, and I realized that sometimes the best dishes are the ones that look harder than they actually are. These brownies have that magic balance of impressive appearance and forgiving technique. They've become my secret weapon when I want to look like I spent all day in the kitchen but really only invested an hour.
Getting the Perfect Swirl
The swirling step intimidated me at first, but I learned that random is better than precise when it comes to marbling. Drop those spoonfuls of red batter wherever feels right, then drag your knife through in loose S shapes or figure eights. If you overwork it, the layers blend into a muddy pink instead of staying distinct. I usually make about six or seven swirls total and then step away, even when it's tempting to keep going. The oven does some of its own blending as everything bakes, so what looks underdone before baking comes out beautifully marbled after. Trust the mess.
Storage and Make Ahead Tips
These brownies actually improve after a day in the fridge, as the flavors meld and the texture firms up into something almost truffle like. I store them in an airtight container with parchment paper between layers to keep them from sticking together. They'll last a solid five days refrigerated, though they've never survived that long in my house. If you're bringing them somewhere, I cut them cold and then let them sit at room temperature for about twenty minutes before serving. That slight chill is part of their charm, but taking the edge off makes them even fudgier.
Variations Worth Trying
I've folded white chocolate chips into the brownie batter before spreading it, and the little pockets of melted sweetness add another layer of indulgence without changing the technique. A friend of mine swirls in a tablespoon of raspberry jam along with the red velvet batter for a fruity twist that complements the cream cheese beautifully. You could also add a teaspoon of espresso powder to the brownie layer for deeper chocolate notes, though I love the subtle cocoa flavor as is.
- Try mini chocolate chips in the cheesecake layer for bursts of texture.
- Dust the tops with powdered sugar just before serving for an extra festive look.
- Swap half the cocoa powder for dark cocoa if you want a richer, almost devil's food flavor.
 Save
Save These brownies have a way of turning any gathering into something a little more special, whether it's a Tuesday night or a holiday spread. Serve them cold, share them proudly, and watch them disappear faster than you'd expect.
Recipe FAQs
- → Can I use natural food coloring instead of artificial dye?
Yes, you can substitute natural red food coloring, though the color may be less vibrant. Beet powder or natural red gel can work, but expect a more muted burgundy shade rather than bright red.
- → Why do my brownies need to be refrigerated before cutting?
Refrigerating for at least 2 hours allows the cheesecake layer to set properly, making clean cuts much easier. The chilling process also enhances the fudgy texture and helps the flavors meld together beautifully.
- → Can I make these brownies ahead of time?
Absolutely! These brownies store wonderfully in an airtight container in the refrigerator for up to 5 days. In fact, many find the flavors deepen and improve after a day or two of storage.
- → What's the best way to achieve clean swirls?
After dolloping the reserved red velvet batter over the cheesecake layer, use a butter knife or wooden skewer to gently drag through both layers in figure-eight or zigzag patterns. Don't over-swirl or the colors will muddy together.
- → How do I know when the brownies are perfectly baked?
The center should be just set with a slight jiggle, and a toothpick inserted should come out with a few moist crumbs—not wet batter. Overbaking will result in dry brownies, so check at 33 minutes if your oven runs hot.
- → Can I double this batch for a larger crowd?
Yes, simply double all ingredients and use a 9x13-inch pan. Baking time may increase by 5-10 minutes, so check for doneness starting at 40 minutes. This will yield approximately 24 brownies.